 Submitted by smith on
Salutations!
Today’s Topic: Patron Preferences in Enterprise
Excel/Office Tip: DIY Ribbon tab
If you looked closely at one of the images in last week's post about Enterprise Lists, you would have seen a checkbox labeled "Make this your default list." Did you know that there are other defaults and preferences you can set in the catalog? Read on....
When you click on MyAccount, by default it opens to the Personal Information tab, and you see something like this:
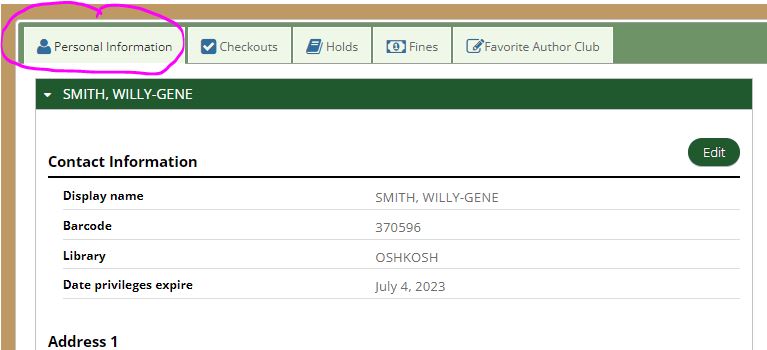
The Edit button allows the patron to change their email address--and that's all!--and belongs to a different 'Minder. For today's 'Minder I'd like you to focus on the little white down arrow, right below the pinkly circled Personal Information tab:
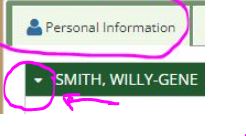
If you click on that, it will collapse all the contact information, and you can see that there is also a "Preferences" section:
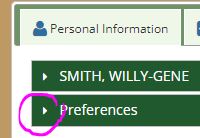
Clicking on the white arrow gets you:
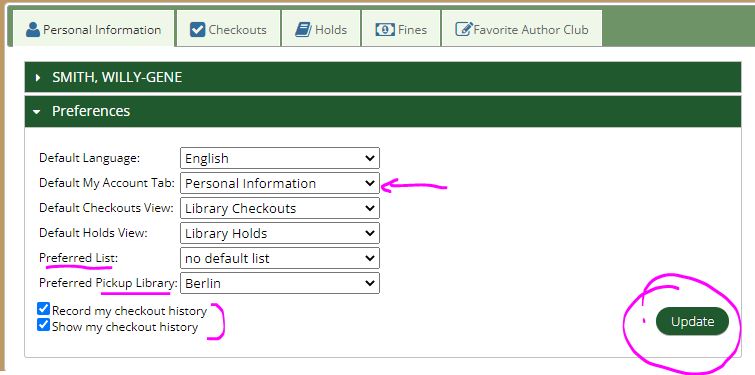
- The first thing I changed in my account was the "Default My Account Tab." I changed it to show the "Checkouts" tab.
- By default, "Record my checkout history" is unchecked, but this is where you can control whether or not you want the system to track checkouts.
- Remember the "Make this my default list" checkbox from last week? Here is where you can reset that, or tell Enterprise to always add things to Temporary List.
- Want to see Winneconne's items on top, but pick up your holds in Berlin? You can set your default pickup location which will trump the library you picked from the catalog's opening screen.
- And for those folks who checkout mostly OverDrive titles, you can set your default holds and checkouts to openn with Digital Checkouts or Digital Holds.
Most important thing is to remember to click UPDATE.
Excel/Office Tip: DIY Ribbon Tab, AKA Customize Your Ribbon
Sick of having to switch between Home and all the other tabs when you only use like 3 thrings from each one? Create your own tab, with your favorite tasks. It can look like this:

To customize your ribbon, right-click on any white space on the ribbon and select "Customize Ribbon." You could also go to File-->Options-->Customize Ribbon. You'll get:
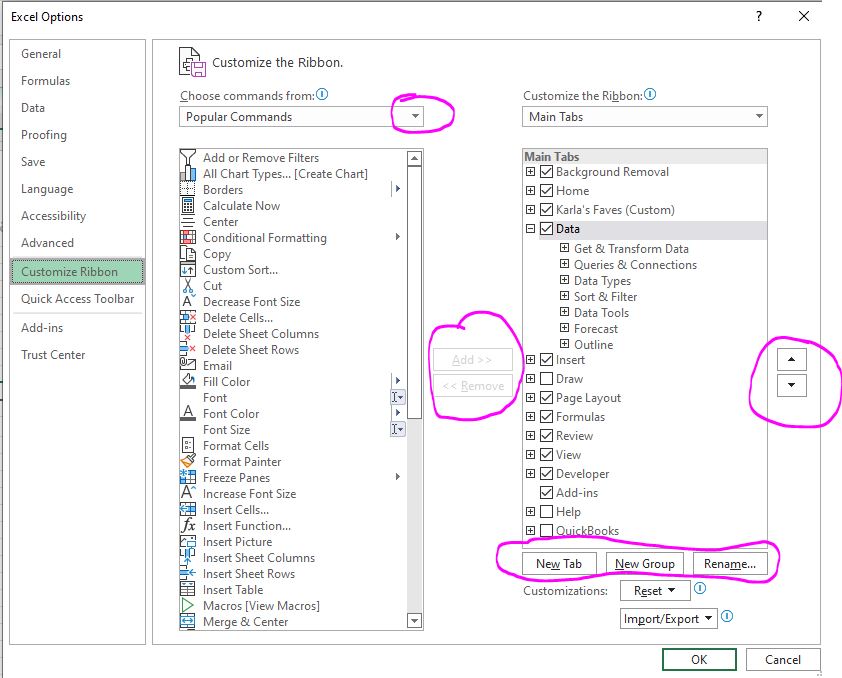
Notice the bits I've circled--you'll be working with them quite a bit. The basic procedure is:
- Create a New Tab and/or New Group(s). Rename them.
- Find the task(s) you want in the left hand box.
- Add>> to the desired new Group(s).
- Use the up-down arrows to change the order of tasks, groups, or tabs.
- Click OK.
You'll want to start with New Tab . That will create a New Tab (Custom) entry in the righthand column:
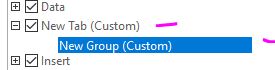
Click on Rename... and give your New Tab a name. Then do the same for the New Group (Custom) that was automatically created.
With your newly created Group highlighted, go up to the Choose commands from: dropdown menu and decide where to get your new tasks from. I found Main Tabs the easiest to work with because it let me move whole groups of commands, instead of individuals (which is what I did when customizing my QAT). But I also chose the File Tab because I wanted Open, Email, and Save As.
Say you only Insert Charts into your Excel Sheets. The default Insert Ribbon looks like this:

Who uses all that? Let's add just the bits you use to your New Tab.
- Click on the arrow next to Choose commands from: Select Main Tabs
- Expand the Insert tab, then the Charts tab. You'll notice that the Add>> button became active. Choose which chart(s) you want on your new tab. You can add the whole Chart tab or just specific charts. All I needed was Recommended Charts because Excel usually knows best which chart to use, and I can always get something different from the regular Insert tab.
- Highlight the New Group where you want to add your Recommended Charts.
- Click on Add>>
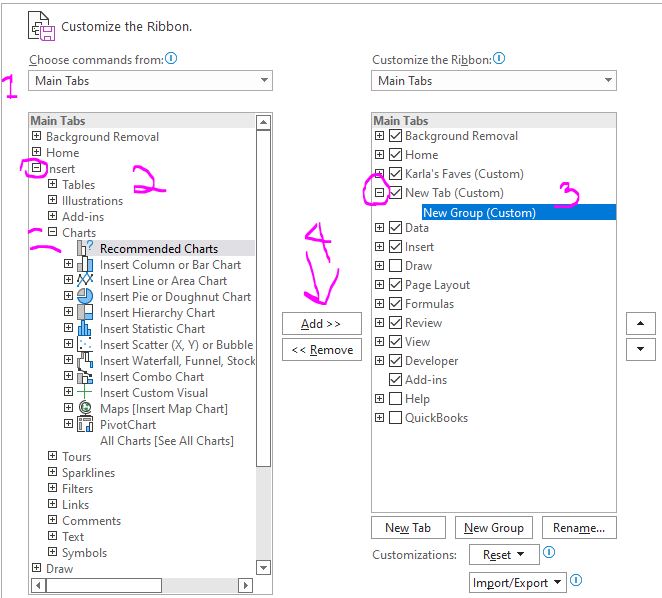
Click on OK.
Your Excel Ribbon now looks like this:
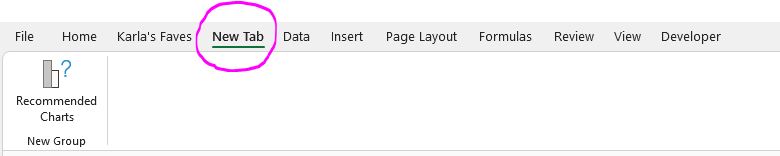
Wash, Rinse, Repeat for more tasks. Here's the link to a video showing me playing with ribbon customization--including how to remove, and re-arrange the tabs and groups.
You can also Export your newly created tab on one machine and Import it on another. There is also a handy Reset option if you want to undo it all.
Use CTRL-F1 to hide and restore the Ribbon if you need more screen real estate for your spreadsheet.
Share & Enjoy!
Karla
- smith's blog
- Log in to post comments