 Submitted by smith on
Salutations!
Today’s Topic: Remember the Power of Right-Click!
The "right" mouse button--that is, the button on the opposite side of the one you use alllllll the time--opens up worlds of time-saving, wrist-saving, options. There are a ton of spots in WorkFlows that let you right-click to do more tasks. And, for you Lefties out there, did you know you can change which button is the "right-click" button?...Read more...
First off, you can change which mouse button behaves as the primary(aka "left", aka "point-n-click") button and which behaves as the secondary(aka "right-click") button. So, if you're a southpaw (or if you have carpal tunnel issues and need to use the other hand for a while) and want the added dexterity of using your index finger of your dominant hand for the primary mouse button, here's how:
- Go to the Windows Search Box in the lower left corner of your screen.
- Search for Mouse--"Mouse Settings" will most likely be your best match
- Open Mouse Settings. You'll see Left is selected by default.
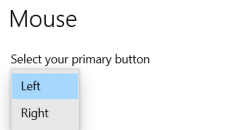
- Select Right as your Primary button
- Close Mouse settings.
- Move the mouse physically over to your left side so that you can still using your pointer finger to "point-and-click" on things.
Voila! You are now using the button-on-the-right as your primary button to point-n-click on things, and the-button-on-the-left as your secondary button to "right-click" on things.
Back to what to use that secondary button for...
In Workflows--esp in Checkout, Display User, Display Title Holds or other places where you have a list of items that looks sorta like this:

Right-clicking on any item will give you a menu of options/actions that you can perform on that item. If you highlight multiple items, you can apply the action to several items at once.
Here's a scenario: Patron is at desk to checkout. They also want to renew several items they already have checkedout, but don't have with them. You're already in Checkout, all set to check the patron out....
- Scroll down far enough to see their list of "Current User Checkouts:"
- Regular-click to highlight the items you want to renew
- Right-click on any one of the highlighted items.
You'll get:
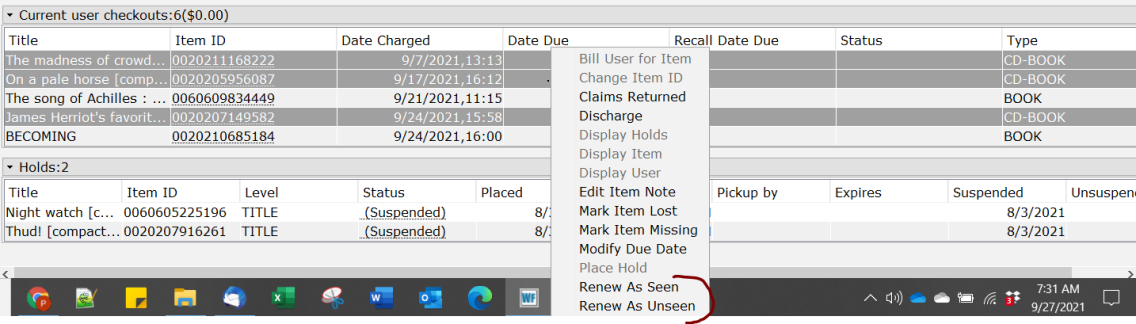
Just look at all the things you can do! Some of the ones are greyed out because they don't work on multiple items at once, but they'd be options if I'd only selected 1 item. The list will vary depending on what list you are on. If you right-click on a list of Bills you'll see options to Pay Bill, Edit Bill Note, and other options useful when dealing with bills.
FYI... "Renew as Seen" means the patron has the item in hand and you have "seen" it. "Renew as Unseen" means the patron has called, or left the item at home and wants you to renew it without actually "seeing" it. Most of the time, just use "Renew As Unseen." You can use "Renew as Seen" if they have the item, but most of the time it is easier simply to scan the item in Checkout to renew the item--since most of the time you'll have Checkout open anyway. It doesn't make a lot of difference at Winnefox which one you use, but many library systems have policies saying "you can renew it X times w/o bringing in the item, but if you want to renew more than that, you need to bring it in so that we can see that you haven't lost it."
Reminder: Right-Click works in Office products too! I use it all the time in Outlook: on a folder to "Mark All as Read"; on my Inbox to create a "New Folder"; on a specific email in my list to "Mark as Unread" or to flag for "Follow-up."
Share & Enjoy!
Karla
- smith's blog
- Log in to post comments